
OpenCore
OpenCore is basically a program that gets ran by the firmware (the BIOS/UEFI) which starts macOS.
It has the ability to apply patches, add drivers, and/or spoof the device information beforehand.
Let's start by visiting its GitHub repository, located here.
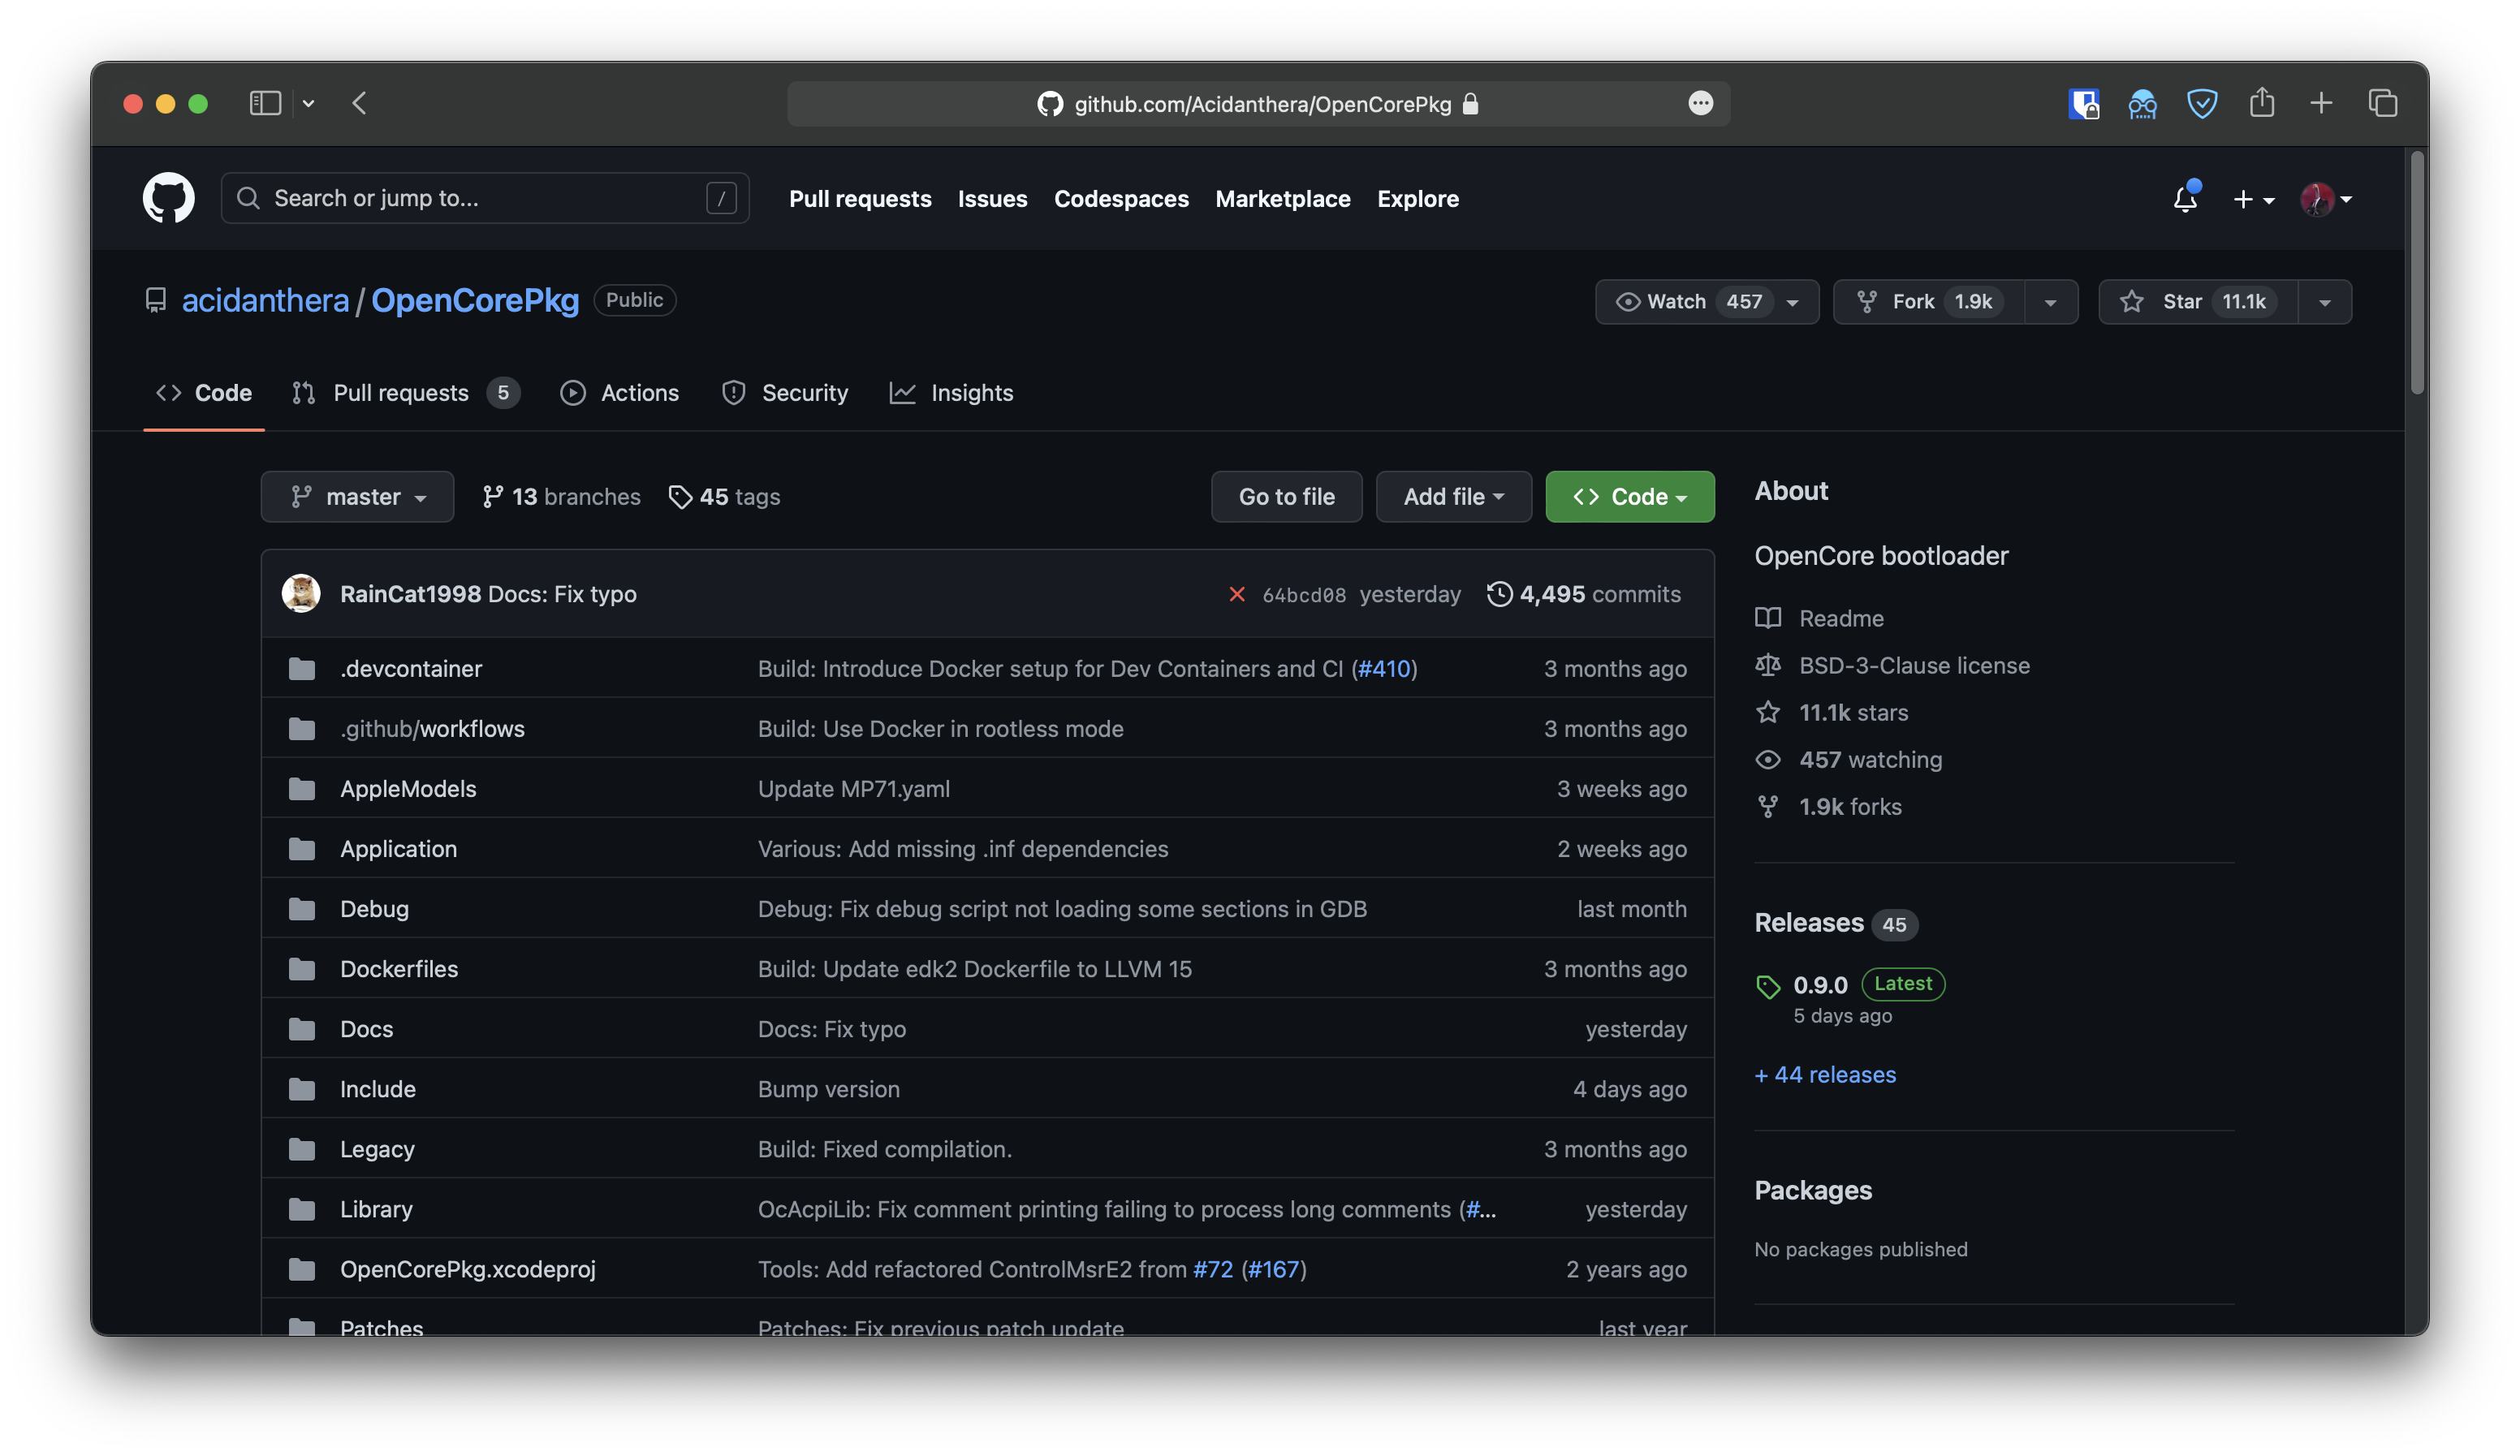
Head to the release section. Quite obviously it is the project's releases. Here we can find each release's different files and maybe change log. We're only interested in the build artefacts associated with the latest release right now

The latest release is always located at the top. At the bottom of the release "card" reside the files associated with this release. You can see both RELEASE and DEBUG builds.
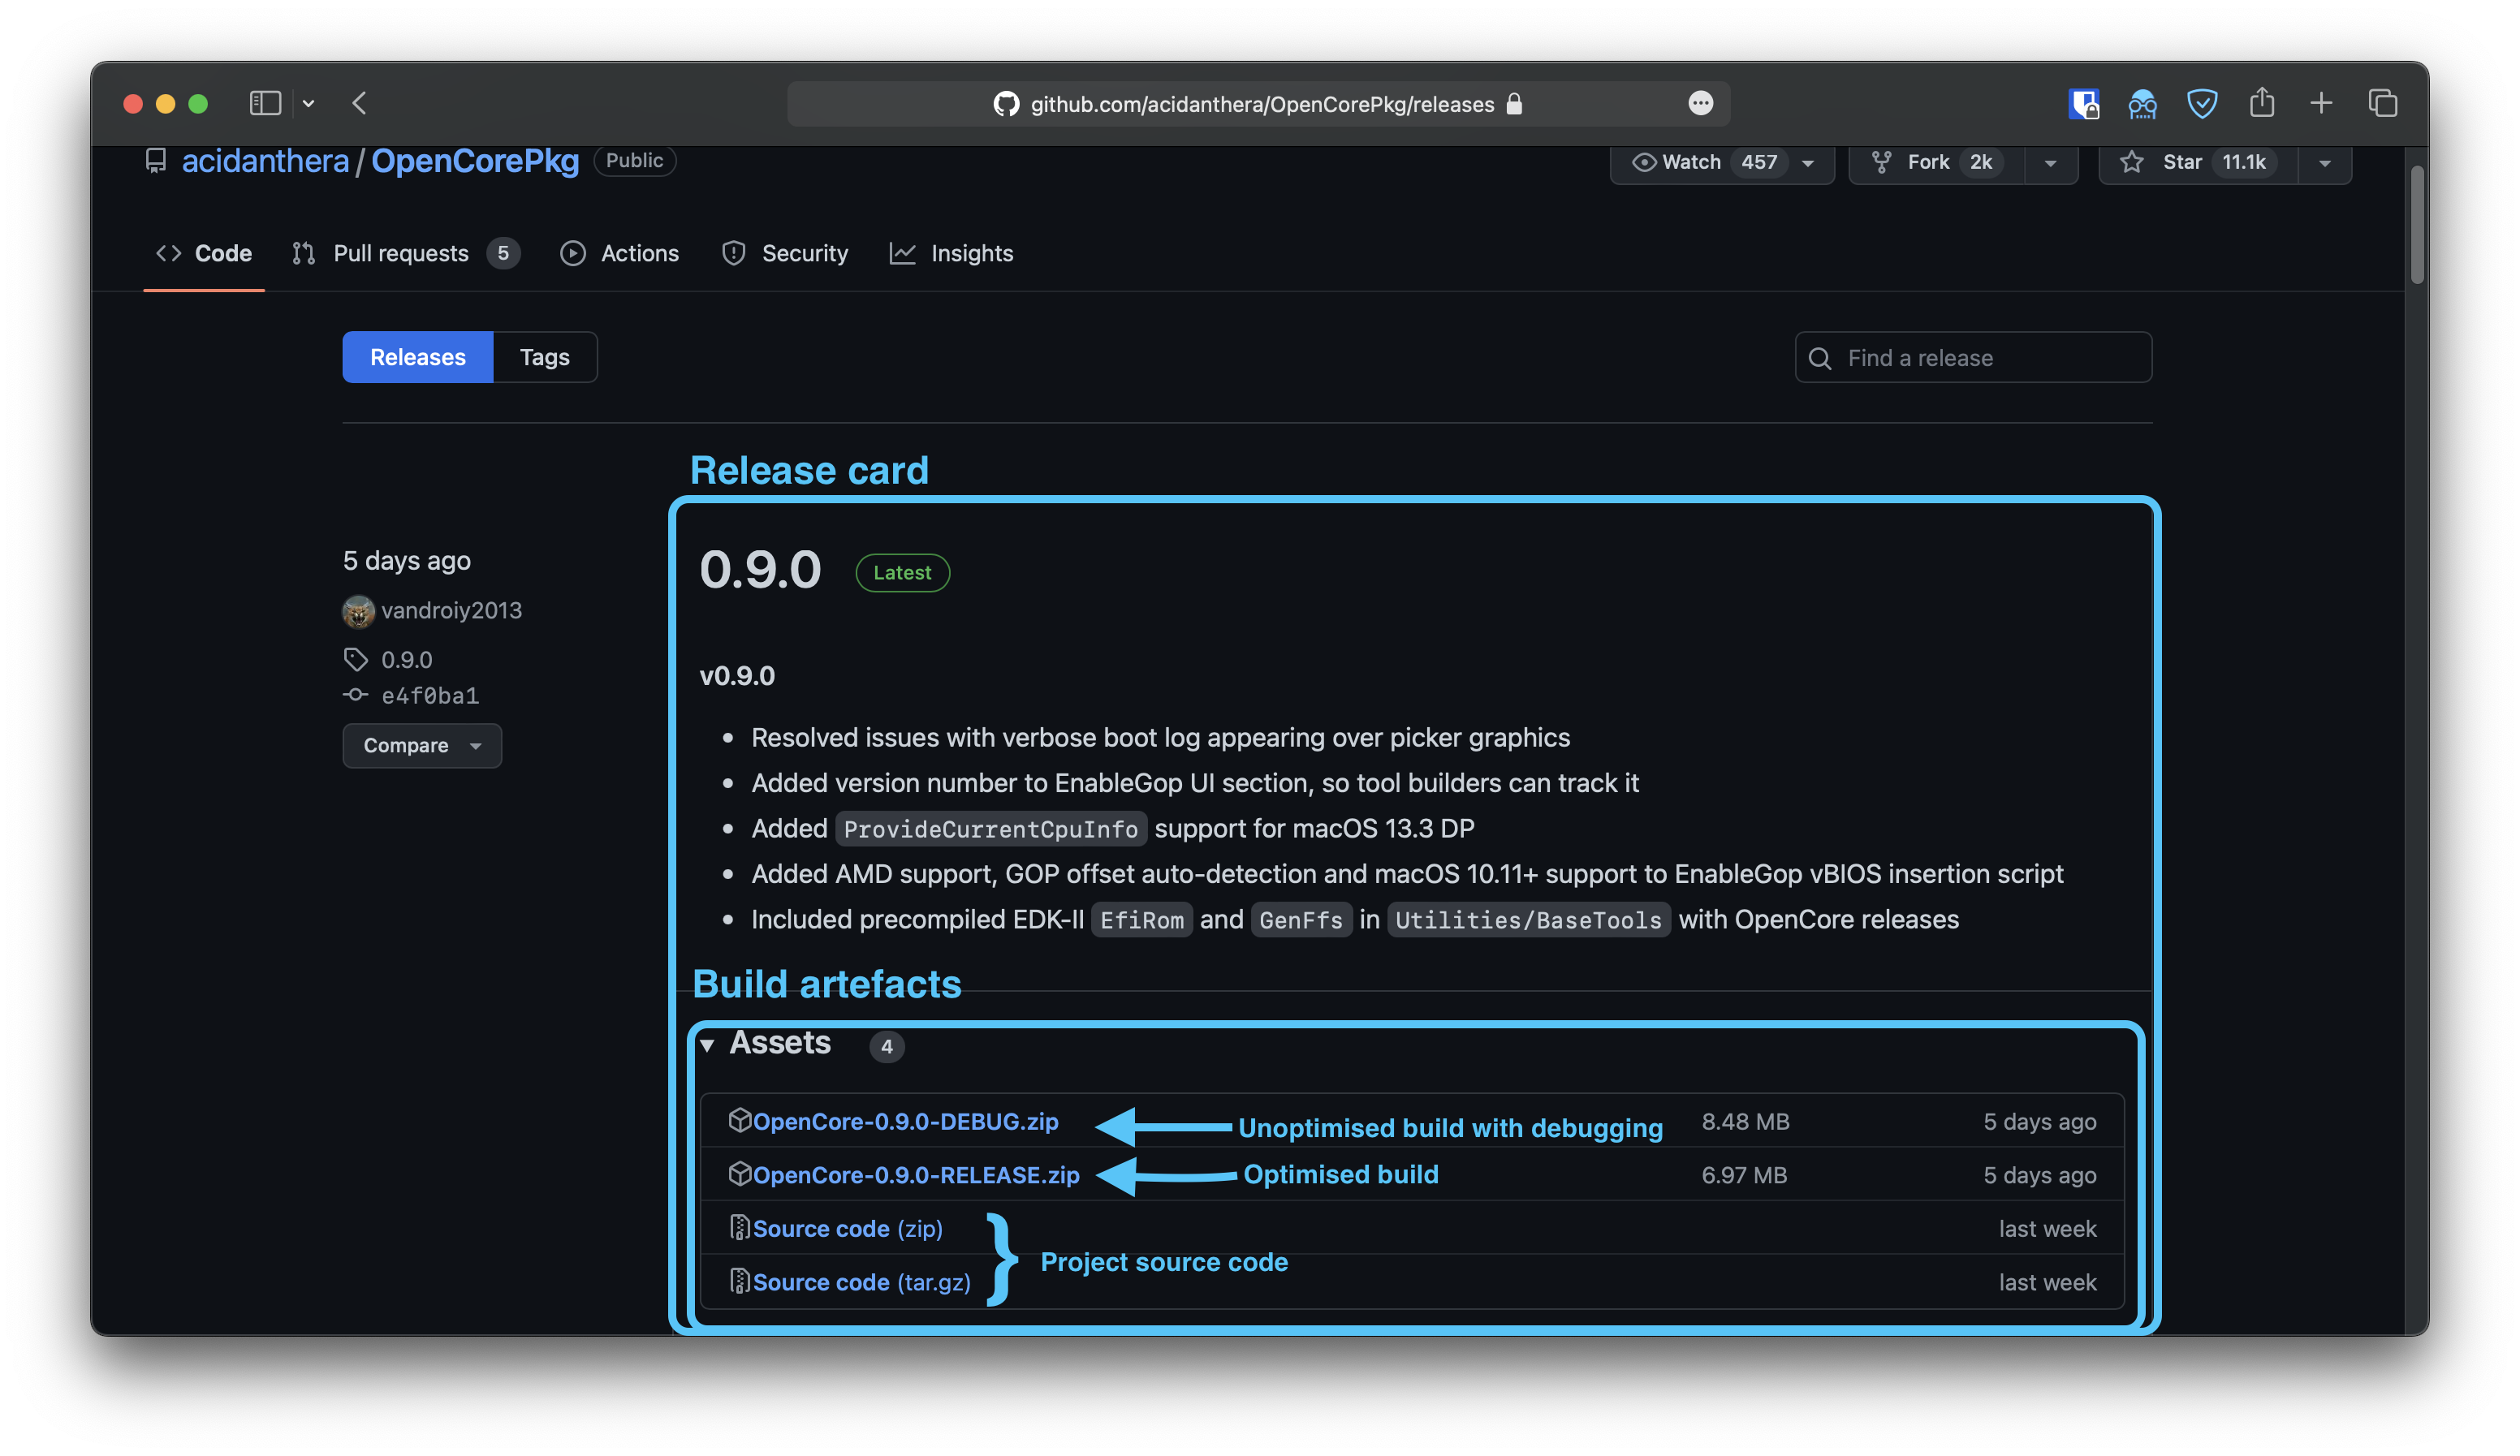
We will grab the debug build for now so we'll be able to diagnose any problems that may arise later in the process. Click (on the debug build) to start the download.
Once it finishes, extract its contents somewhere organised so you can keep track of everything. Here is an example layout:
OCStuff/
  OpenCorePkg/
  Drive/
    EFI/
The contents of the Drive folder will be later copied to your USB. Copy that EFI folder from OpenCorePkg/X64/EFI. It is OpenCore itself.
Afterwards, copy Sample.plist as config.plist inside of EFI/OC. That's OpenCore's configuration which will be edited for our system further down the line.
With that in mind, congratulations! You now know what OpenCore is, how to navigate the GitHub UI in order to download a project's build from the release page, and how to keep your hackintosh adventure organised.
Next up, we shall download the macOS installer